Are You Ready to Hit the Road in an RV?
We’re here to help!
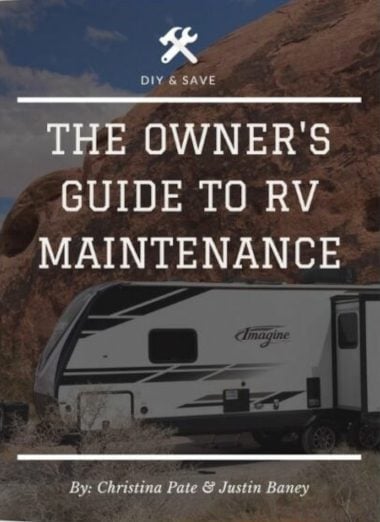
The Owner’s Guide to RV Maintenance
Stop wasting money on RV maintenance. With 50 comprehensive tutorials, this guide provides you with step-by-step instructions on keeping your RV in tip-top shape. Dive deep into RV care essentials, from engine checkups to interior revamps. And with our easy-to-understand guide, even beginners will feel like seasoned pros.
Use out step-by-step instructions to do it yourself. It’s easy!


Latest Stories


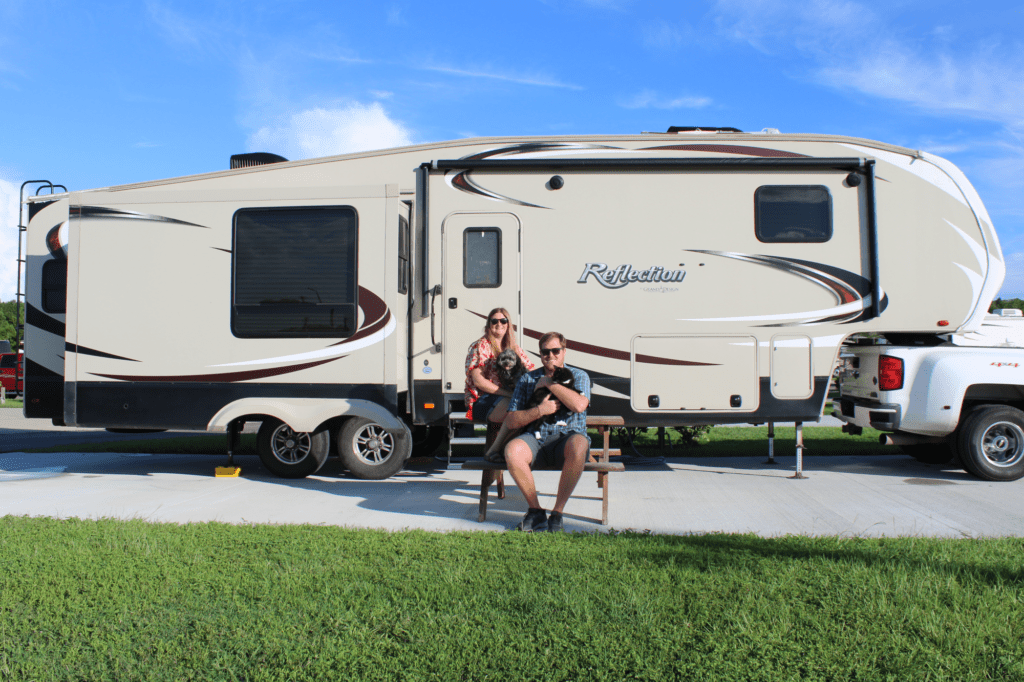
Hi! We’re Christina and Ted and We Live in an RV!
Ted and I, along with my husband Justin, became full-time RVers in 2016. Since then, we have traveled all over the United States (and beyond) and become very skilled at all things RV camping, including trip planning and RV maintenance.
I started Travels with Ted to help new RVers and wannabe full-time RVers realize their dreams on adventures on the road. I look forward to sharing all my best RV travel tips with you.