
This post may contain affiliate links. See our affiliate disclaimer here.
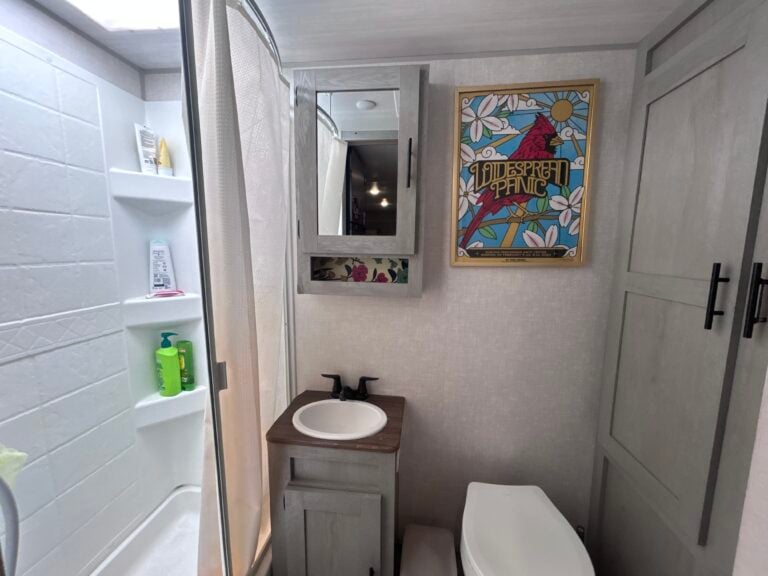
One of the best parts about traveling in an RV is traveling with your own bathroom, so you can skip campground bathhouses and rest stop restrooms. However, RV bathrooms often leave a lot to be desired.
Recently, we made a few practical upgrades to our RV bathroom using products from etrailer. None of them were expensive remodel projects. Just simple changes that made the space a little more functional and a little more comfortable for everyday life.
This post is sponsored by etrailer.com. They’re my go‑to for everything RV‑related, from campsite gear to hitches and replacement parts. I’ve been ordering from them for years and always get great customer service. I especially love their detailed product descriptions and video tutorials. They make it easy to get the right gear the first time.
Upgrading Our RV Shower Head
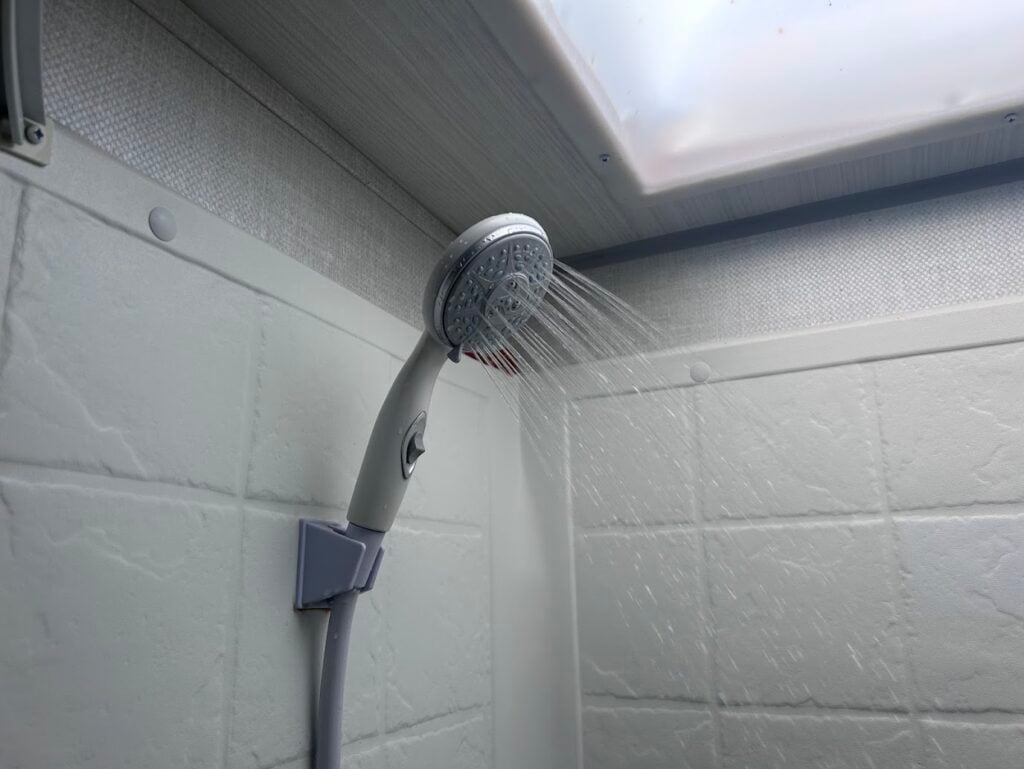
The factory shower head in our travel trailer was okay. It worked, but it was small and didn’t have any adjustable spray settings.
To improve our shower experience, we installed the Camco RV and Marine Handheld Shower Head. It comes with a handheld shower head, a 60-inch flexible hose, wall mount, washers, and all the installation hardware. The hose is reinforced to help prevent kinking, which is always nice in a small RV shower.
One feature I really like is the built-in on/off switch. Instead of letting water run while shampooing, you can pause the flow and save water. That’s especially useful for RVers who boondock or simply want to stretch their fresh water tank a little longer.
It also has five different spray settings, which makes our RV showers feel a little more spa-like.
Adding More Shower Storage
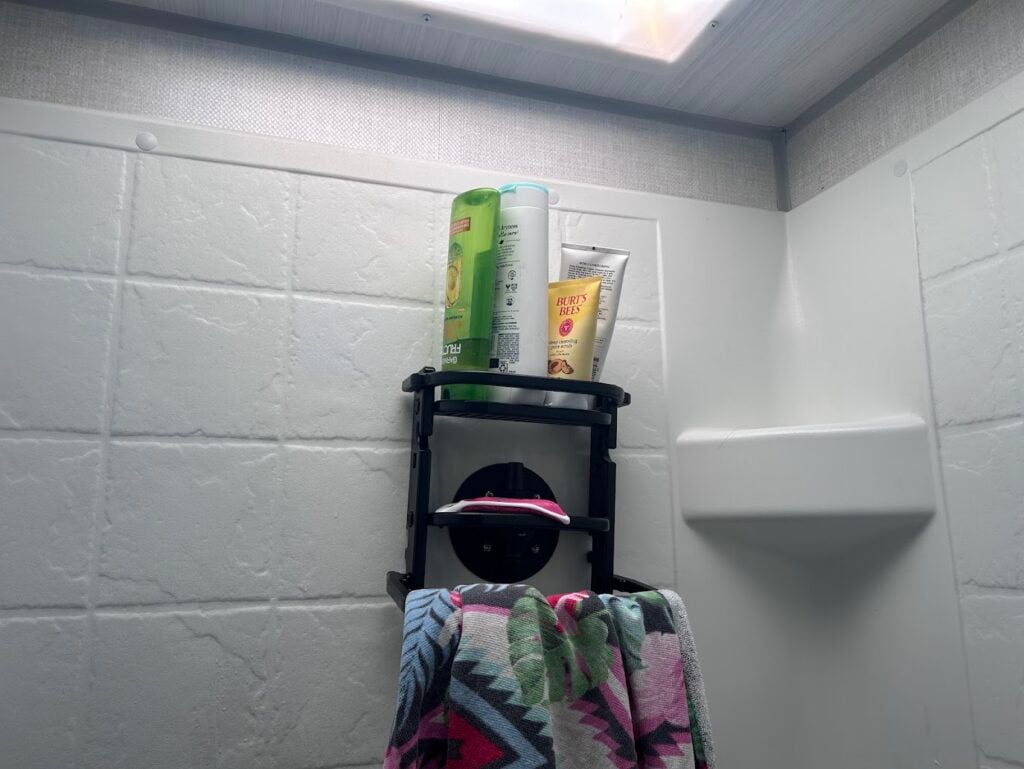
Storage is always a challenge in an RV bathroom. Our shower has a couple small corner shelves, but once you add shampoo, soap, and everything else, it gets crowded pretty quickly.
To solve that problem, we added the SeaSucker Shower Caddy.
What caught my attention was the mounting system. Instead of screws or adhesive strips, it uses a pump action vacuum mount that attaches to smooth non porous surfaces like fiberglass, glass, or metal. Installation takes seconds and doesn’t require drilling holes into your shower wall.
The handle can also be positioned two different ways. You can place it on top and use it as a carrying handle for campground bathhouses or move it to the bottom and use it as a towel holder.
Replacing Our Sink Faucet
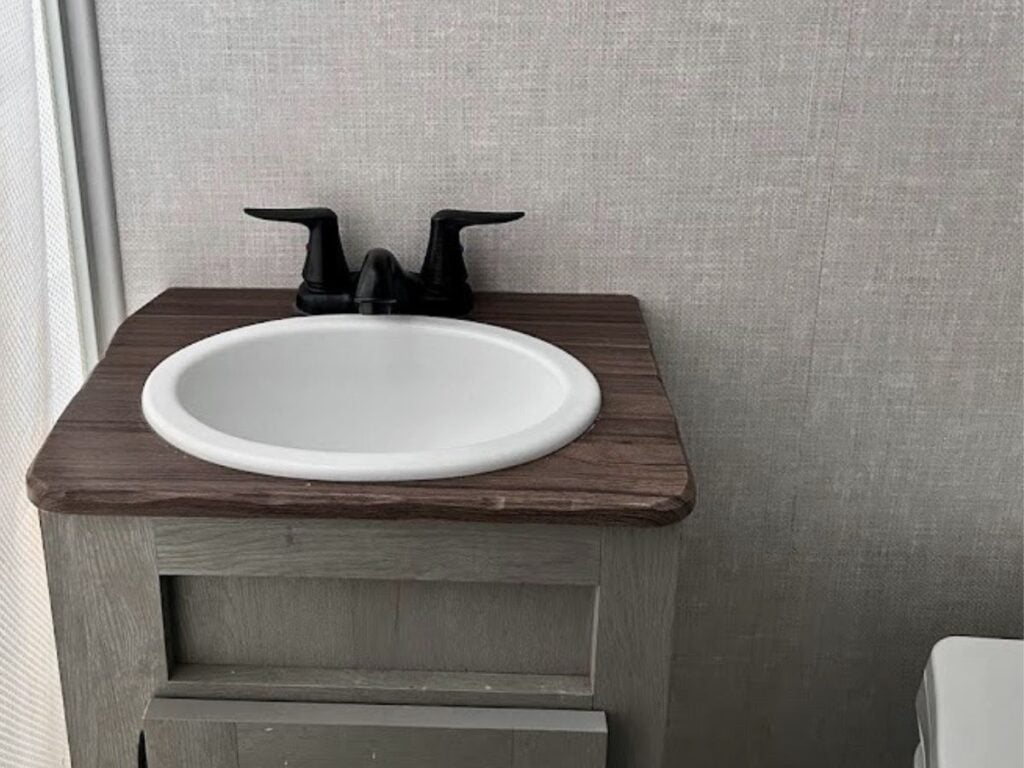
One of the most frustrating things about our RV bathroom was the sink faucet. The original faucet was honestly pretty ugly, but the bigger issue was that it didn’t extend far enough over the sink bowl. Every time someone washed their hands, water ended up all over the counter instead of going into the sink.
Considering how small RV bathrooms are, constantly wiping up water gets old fast. We replaced it with the Empire Faucets RV Bathroom Faucet, and it solved both problems.
The taller spout extends farther over the sink, which means the water actually lands where it’s supposed to. Such a simple change, but it made a huge difference in day to day use.
I also like the matte black finish. Our RV has several black accents, so it looks much more modern than the original faucet.
Replacing the Toilet Paper Holder
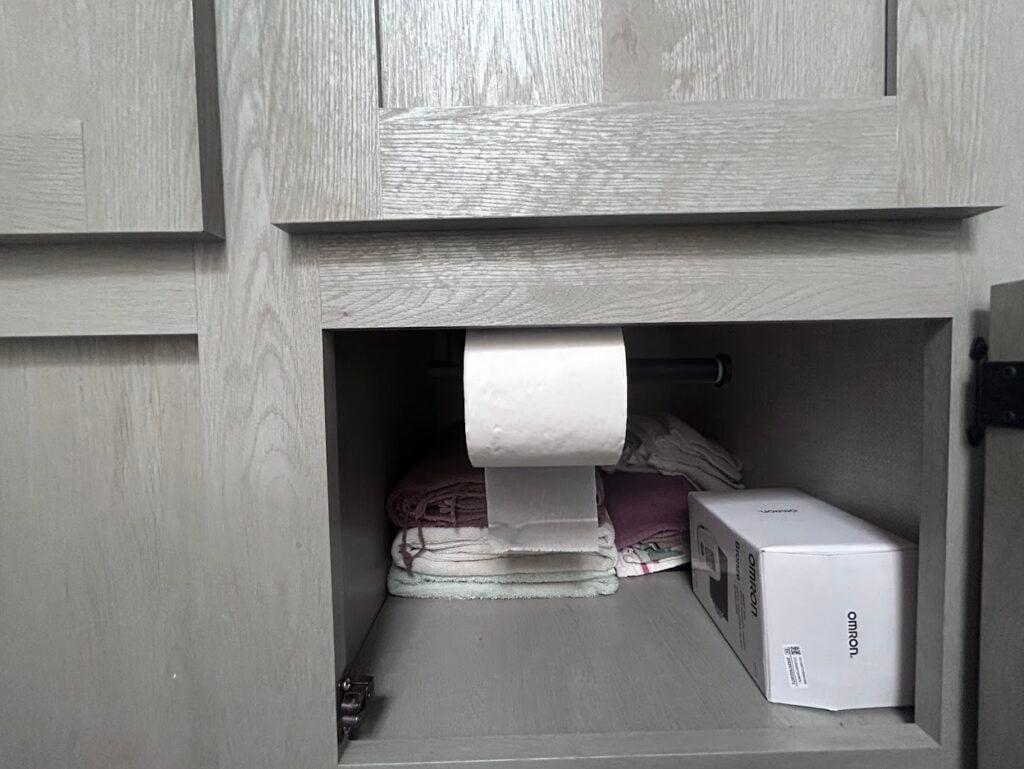
Believe it or not, our RV bathroom didn’t come with a toilet paper holder. As part of our upgrade, we added this ObeCo wall-mounted toilet tissue holder.
Since there is very limited room in our small RV bathroom, we mounted the roll holder onto the top of the cabinet next to the toilet. That way, the toilet paper roll is always where we need it, but is never in the way.
Adding a Bathroom Rug
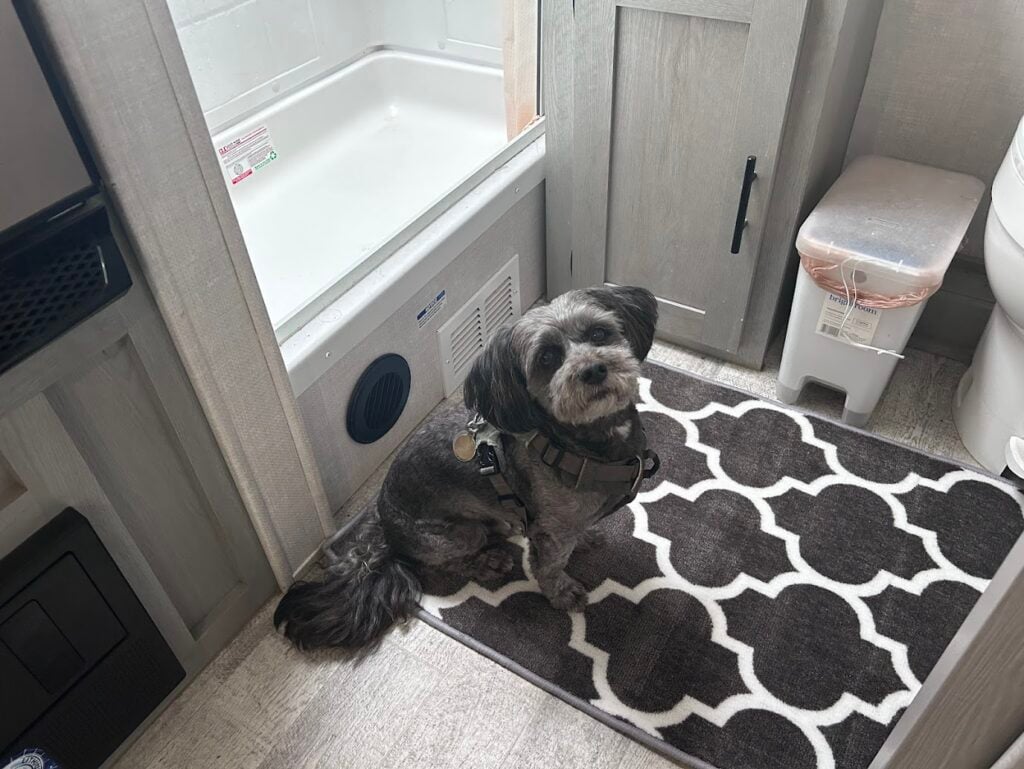
When we moved from our fifth wheel into our smaller travel trailer, every square inch started to matter a little more. Adding a rug to the bathroom helped make the space feel warmer and more comfortable, especially first thing in the morning.
It also helps catch dirt, water, and dog hair before it gets tracked through the rest of the RV. We got this Prest-O-Fit set that came with a matching rug for the main living area.
Installing a Night Light
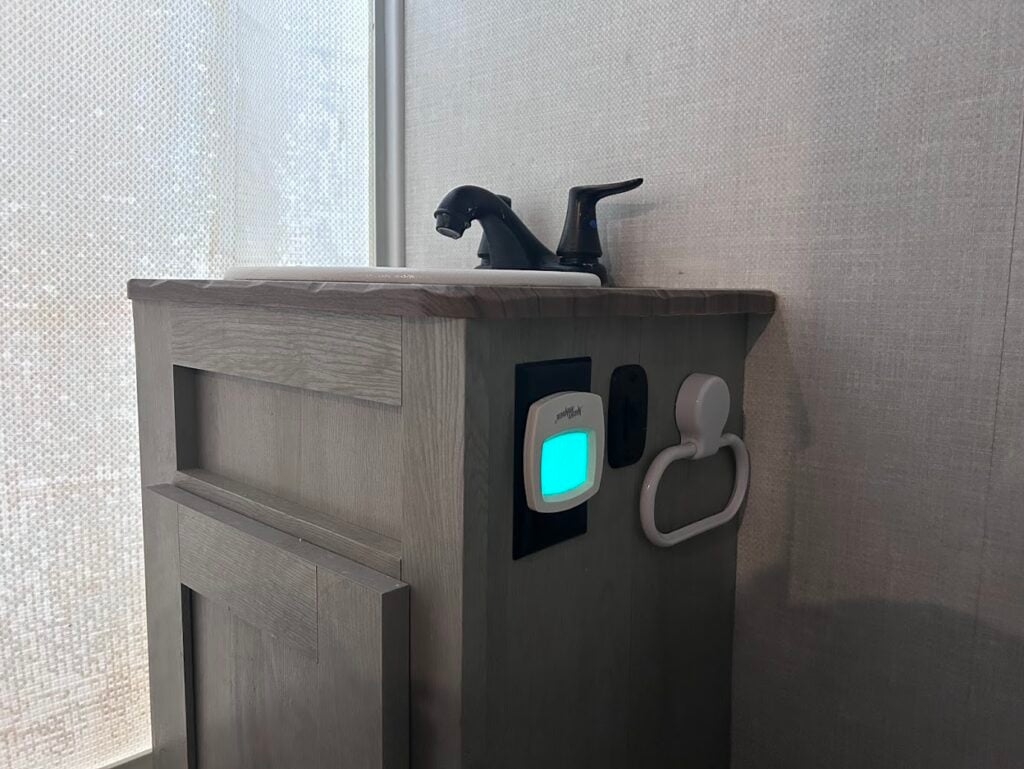
This might actually be my favorite upgrade. If you’ve ever gotten up in the middle of the night in an RV, you know the struggle. You either stumble around in the dark or flip on a bright light and immediately regret it.
The NightMinder emits a green glow that provides enough light to navigate the bathroom without lighting up the entire RV.
It’s one of those products that seems unnecessary until you have it. Then you wonder why you waited so long to install one.
None of these upgrades completely transformed our RV bathroom. That’s not really what we were trying to do.
The goal was simply to make a small space work a little better. A more comfortable shower. Better storage. Less fumbling around in the dark.
For more practical solutions, check out our guide to organizing a small camper bathroom.
Happy Camping!

Christina Pate is a seasoned full-time RVer who, along with her husband Justin, has journeyed across the US, Canada, and Mexico. Drawing from her extensive travels, RV repairs and RV renovations, she founded Travels with Ted to guide and inspire fellow RV enthusiasts. Christina is also the co-author of The Owner’s Guide to RV Maintenance and the creator of My RV Log Book.
