
This post may contain affiliate links. See our affiliate disclaimer here.
I recently tried a couple decal removal methods myself, and wanted to share what I learned. Vinyl decals are slapped on most RV exteriors to show off the manufacturer’s name and add some graphics. But honestly, they don’t age well—they fade, crack, and start peeling if they’re left baking in the sun too long.
A lot of RVers end up wanting to take them off anyway, either because they’re worn out or just not the vibe. If you’re thinking about freshening up your RV’s look, check out this step-by-step guide on how to remove RV decals—and the best ways to replace them.
Contents
How to Remove RV Decals Using Heat
The first method I tried was removing decals using heat. This is my recommended method to try first as it was easier, quicker, and less messy.
Tools Required:
- Heat Gun or Hair Dryer
- Plastic Razor Blades
- Rapid Remover Adhesive Remover
Step 1: Get the Decals Hot
Park your RV in a warm spot in the sun, so the decals are warm before you start removing them. If you are using a heat gun, place it on the lowest setting, as it does not require a huge amount of heat to loosen vinyl decals. I used a hair dryer on the low setting.
Starting at the end of a decal, hold the heat gun or hair dryer about an inch away and wave it back and forth over a small area above the decal.
Step 2: Peel Off RV Decals
Once the edge of the decal is warm, use your plastic razor blade to pry the edge of the decal off the RV. Once enough of the decal is lifted, use your fingers to start pulling it off. While peeling off the decal, peel slowly and continue to wave the heat gun to keep the decal warm and prevent it from breaking off.
If at any point the decal starts to melt, you are using too much heat. Turn down the heat or move the heat gun or hair dryer further away.
Step 3: Remove Residual Adhesive
After removing a decal, there will be a sticky residue left behind from the adhesive. To remove, simply spray the Rapid Remover Adhesive Remove Spray on the residue. After the spray sits for a few seconds, use your plastic razor blade to scrap off the leftover glue.
Repeat until the majority of the residual adhesive has been removed. After most of the glue has been removed, spray the area with Rapid Remover one last time, and use a rag or paper towel to wipe away any remaining residue.
Step 4: Repeat
Repeat the process outlined above to remove all of the vinyl decals from your RV’s exterior. Use a telescoping ladder to reach decals that are higher up on the RV.
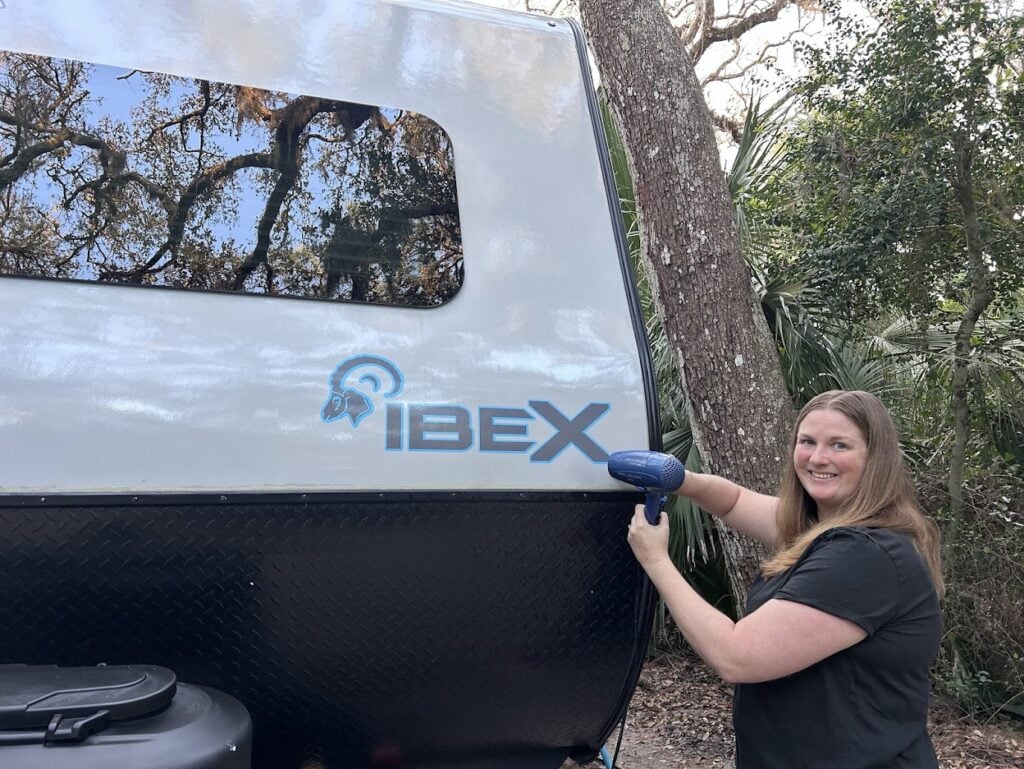
How to Remove RV Decals Using a Specialty Tool
While the above heat method should work to remove most RV decals, there is another option for those with older decals that are not easily peeling off with the heat method. Vinyl decal remover wheels are made specifically to remove vinyl decals from RVs and other vehicles.
These wheel-shaped tool heads are made to fit on a standard household drill. Follow the steps below to learn how to remove RV decals using these tools.
I tried this method and it worked well, but it was a little slower and significantly messier than the heat method.
Tools Required:
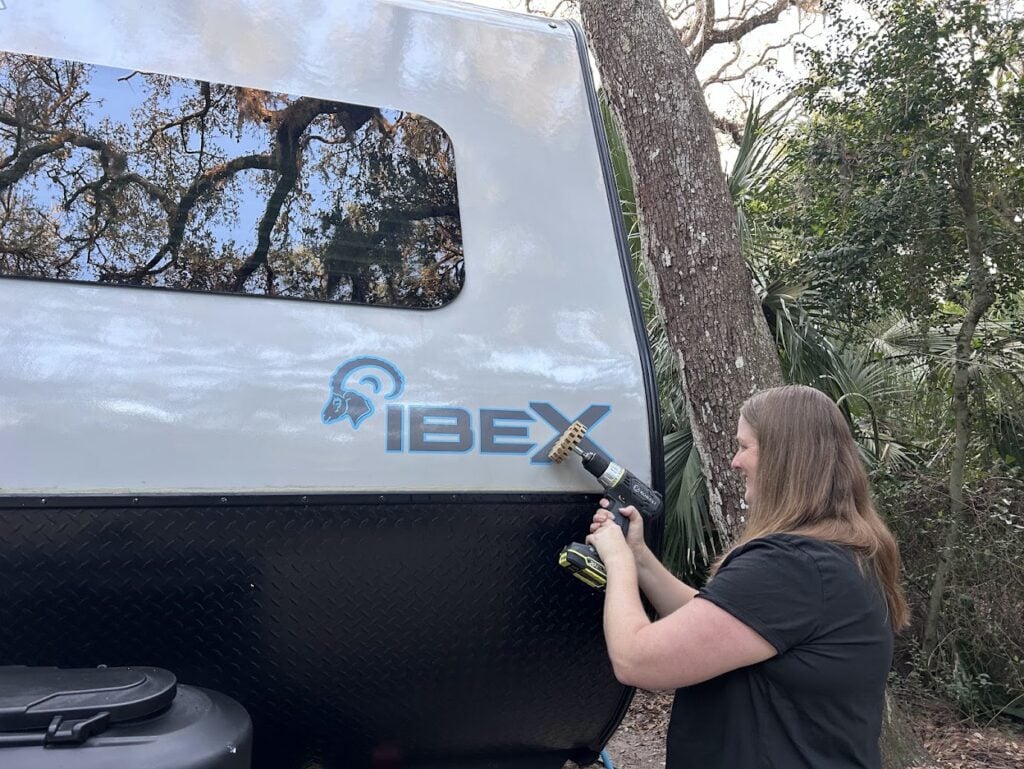
Step 1: Set up the Wheel
Following the instructions on the vinyl decal remover wheel’s package, attach the wheel to your household drill and set the drill to the correct setting.
Step 2: Remove Decals
Holding the drill sideways, place the edge of the wheel against the decal. Power the drill on to rotate the wheel and move the wheel side to side across the decal.
The decal should start wearing away and chipping off almost immediately. If the decal does not start coming off, you may need to set your drill to a more powerful setting or apply more pressure.
Step 3: Remove Adhesive
After removing the RV decals with the wheel, there is going to be some residual glue left on the RV. To remove, spray the Rapid Remover Adhesive Remover on the glue residue and use a plastic razor blade or a rag to fully remove the adhesive.
RV Decal Replacements & Alternatives
Now you know how to remove RV decals, but what do you put in their place once the decals are gone? Below are four RV decal replacements and alternatives to consider.
New Brand Decal
If you are removing decals simply because they are faded or weathered, it is possible to order new brand decals to put in their place. To purchase an official brand decal, contact your RV manufacturer’s parts department.
If your manufacturer does not have brand decals in stock, ReplacementDecals.com has a large selection of brand name and logo decals. If you remove all of the old decals from your RV, you can also purchase replacement swoosh decals in a variety of colors on Amazon.
New Custom Decal
On the other hand, if you are over the classic RV look, you can purchase a one of a kind decal to customize your RV. Many small businesses sell custom vinyl RV decals on Etsy. There are endless possibilities for your new custom decals.
RV owners can choose exactly what the decal says and choose from a variety of fonts and colors. For a fun look, consider a customized, mountain-scene decal from JadeDecals. These custom decals, pictured below, are also available in several colors.
If you want a fully customized exterior you can also wrap your RV.

Exterior Paint
If you are completely over decals, then paint may be the best way to customize your RV’s exterior. Paint can be used to create simple accents by painting the door or the slide outs a different color or you can create a bold statement by covering the RV in a bright color or pattern.
Before painting your RV, make sure the decals are fully removed and the surface is clean and dry. Purchase paint from an automotive paint store to ensure the paint is designed to hold up while traveling down the road.
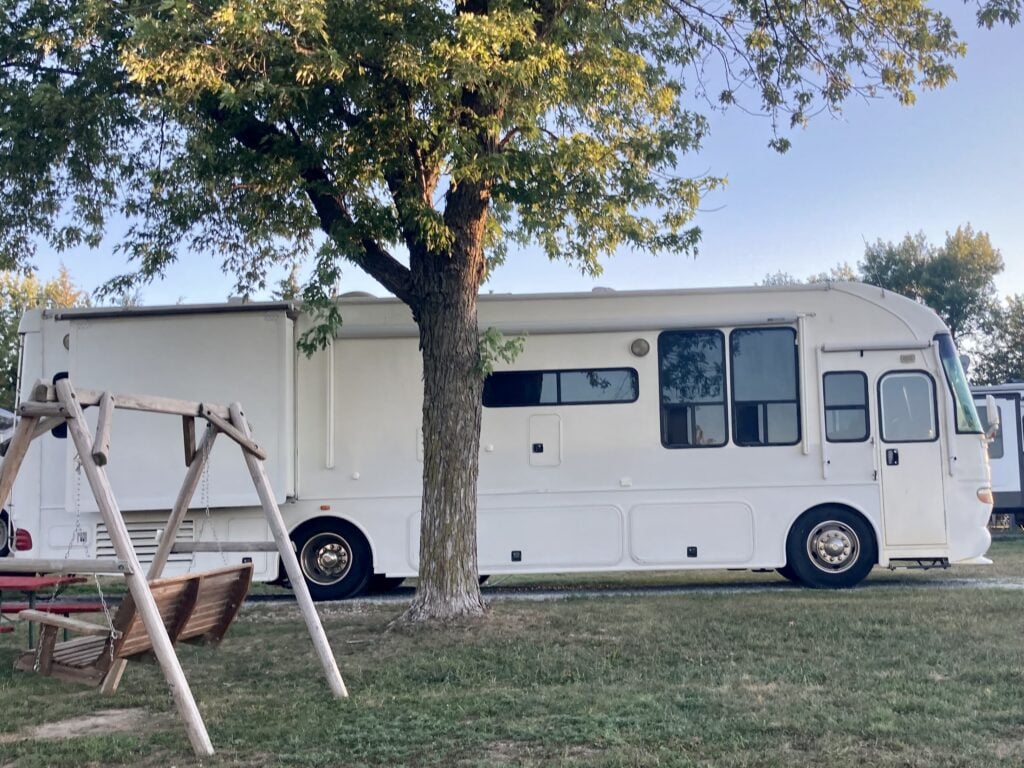
Leave it Plain
If removing the RV decals was enough work, you can always just leave the RV a solid color. A solid, bright white, or beige RV can make a big statement without any extra work. However, if your RV is white, keep in mind that dirt will be more obvious on a blank surface.
Plan to wash regularly to keep your old RV looking shiny and new. Read our guide to removing black streaks from RVs for more tips on how to keep your RV’s exterior clean.
Once you have updated your RV’s exterior with new decals or paint, consider also updating your interior design. Start your RV renovation with the following guides:
Thanks for reading and happy camping!

Christina Pate is a seasoned full-time RVer who, along with her husband Justin, has journeyed across the US, Canada, and Mexico. Drawing from her extensive travels, RV repairs and RV renovations, she founded Travels with Ted to guide and inspire fellow RV enthusiasts. Christina is also the co-author of The Owner’s Guide to RV Maintenance and the creator of My RV Log Book.