This post may contain affiliate links. See our affiliate disclaimer here.
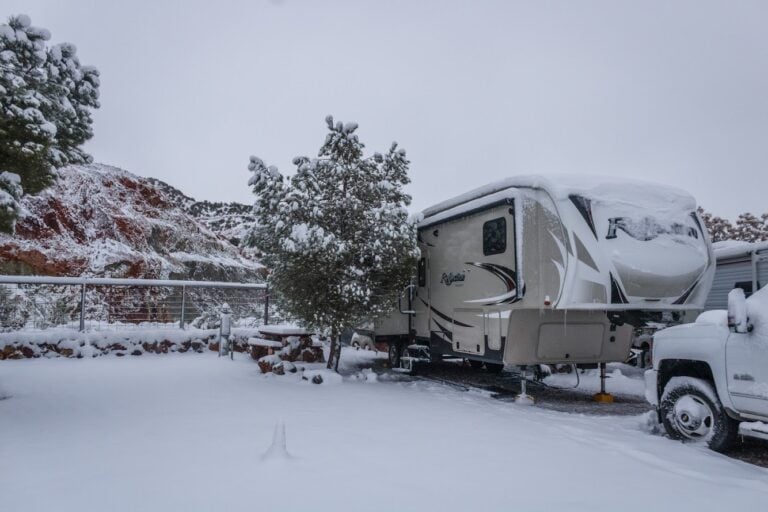
Winterizing your RV is essential for any RV owner storing their RV during colder months. Pulling your camper out of storage in the spring only to find rodents, water damage or other issues is a nightmare!
Proper storage and winterization lessen the possibility of damage to your RV during the storage season. Read our easy-to-follow, step-by-step guide to learn how to winterize your RV.
Also, bookmark our complimentary guide on De-Wintering your RV, so you have those instructions handy in the spring. For more step-by-step RV maintenance guides, check out our eBook: The Owner’s Guide to RV Maintenance.
How to Prepare Your RV for Storage
The first step in the winterization process is properly preparing your RV for storage. The following steps will help prevent damage to your RV systems and prevent pests. These steps should be completed regardless of the climate Where your RV is being stored.
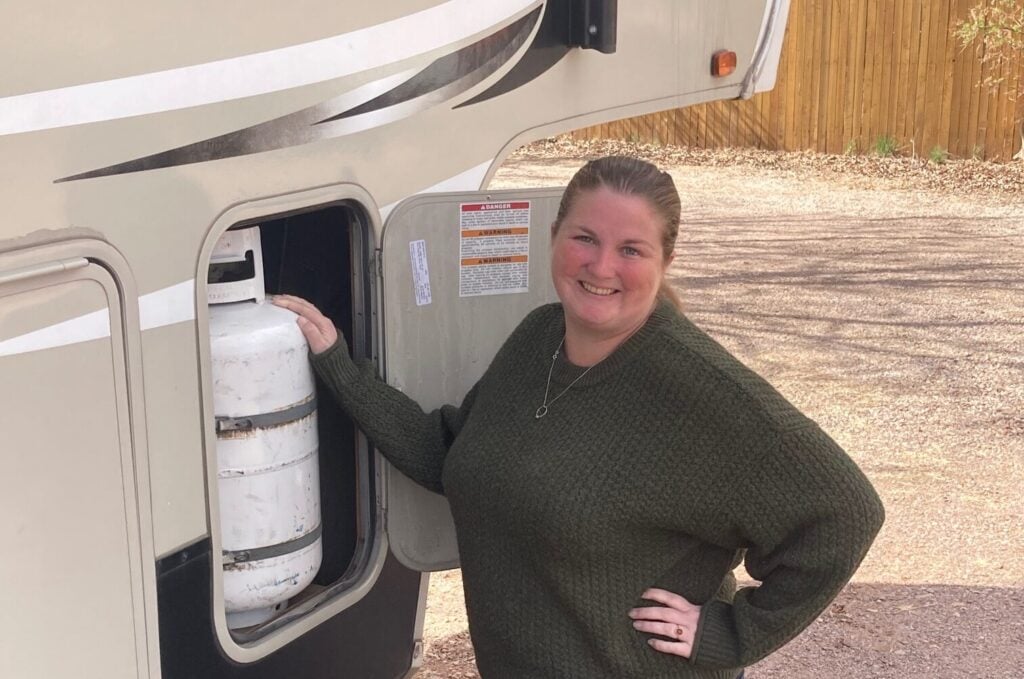
Turn Off Propane
It is always a good idea to turn off your propane when you are away from your RV. If your RV is being stored outdoors, in a well-ventilated area, simply turn off the supply valves on your propane tanks. For RVs being stored in an enclosed area, the propane tanks should be removed from the RV and stored securely, in an upright position in a well-ventilated area.
Charge and Disconnect the Battery
The house battery should be fully charged and then disconnected to prevent it from dying while in storage. Every time a battery is drained below 50% capacity, it shortens the lifespan of the battery.
Fluids in discharged batteries can also freeze and destroy the battery. If the RV will not be in use for several months or the RV is being stored in freezing weather, you can place it on a trickle charger to keep it from dying and freezing.
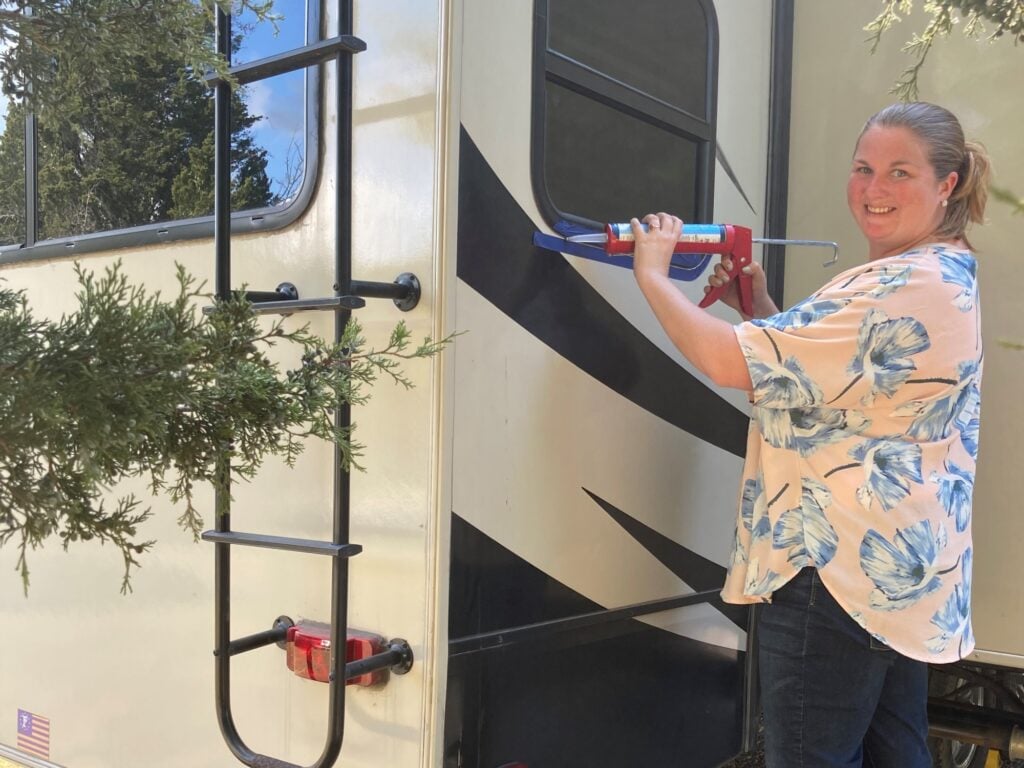
Check and Repair all Exterior Seals
The seals around windows, doors and exterior storage bays need to be checked and repaired regularly. Before putting the RV into storage inspect the seals for cracks, chips or thinning. Apply new sealant anywhere you find damage.
Keeping your seals secure will help keep water out of your RV during the storage season. For more details on which sealants to use and the re-sealing process, see our article on the best RV sealants for every job.
Check for Rodent Entry Points
The entire exterior and interior of your RV should be checked for holes and gaps where mice and other rodents could enter your RV. Inside the RV, check for holes chewed in the back of cabinets and closets.
Outside the RV, inspect the walls of storage bays, get under the RV, and check for holes or gaps. Repair all holes found, even if they are small, as mice can squeeze through a hole as small as a dime.
The RV should also be thoroughly cleaned and all food items should be removed. Any tasty odors left behind are likely to attract mice and other critters.
Learn more about how to keep mice out of your RV.
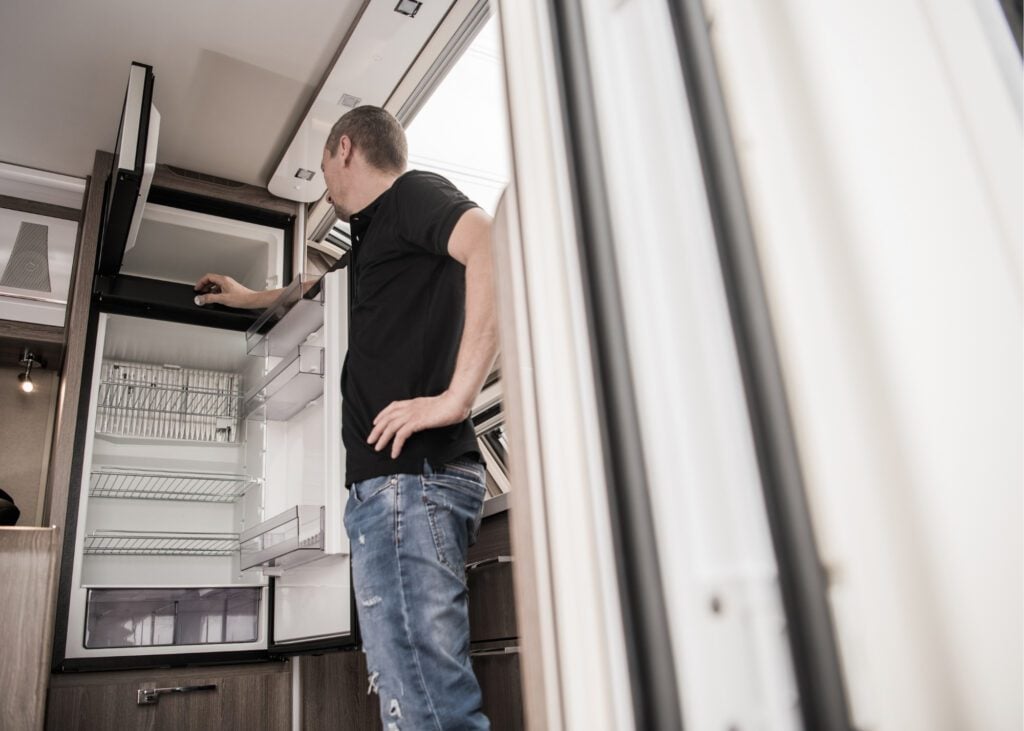
Defrost and Open Refrigerator
Defrost your RV refrigerator by simply turning off the power and opening the fridge and freezer doors. Place dry towels in the fridge and freezer to help soak up melting frost. Once the refrigerator is defrosted, use towels to completely dry the inside.
Leave the doors to the refrigerator open while the RV is being stored, and place DampRid buckets inside to soak up any moisture.
Close Up the RV
Before leaving the RV in storage, make sure all windows, doors and roof vents are securely closed.
Place insect screens over all exterior appliance vents to prevent wasps and other bugs from nesting inside your appliances. Finally, lubricate all door hinges and locks, to help prevent them from sticking in the spring.
Drain Holding Tanks
We describe the full process of draining your holding tanks in the below section. However, even if you are not winterizing your RV water system, the water heater, holding tanks, and freshwater tank should always be fully drained before putting your RV into long-term storage.
How to Winterize Your RV for Cold Weather
The following steps are intended to protect your RV in cold climates. Complete the following winterization steps if your RV could be exposed to freezing temperatures while in storage.
Clean and Dump Holding Tanks
Start the winterization process by fully emptying your gray and black water holding tanks and flushing them to clean. Our beginner’s guide to RV holding tanks includes step-by-step instructions on the proper way to dump and clean your tanks. Stay connected to the dump station as you will drain the interior lines in a few steps.
Also, drain your fresh water tank. Most RVs have a drain valve under the RV that can be opened to quickly release all the fresh water. See our complete guide to emptying the RV fresh water tank for more details.
Remove Water Purification Filters
If your RV has a built-in water purifying system, remove the filter and follow the manufacturer’s guide to winterizing the system.
Drain Water Lines
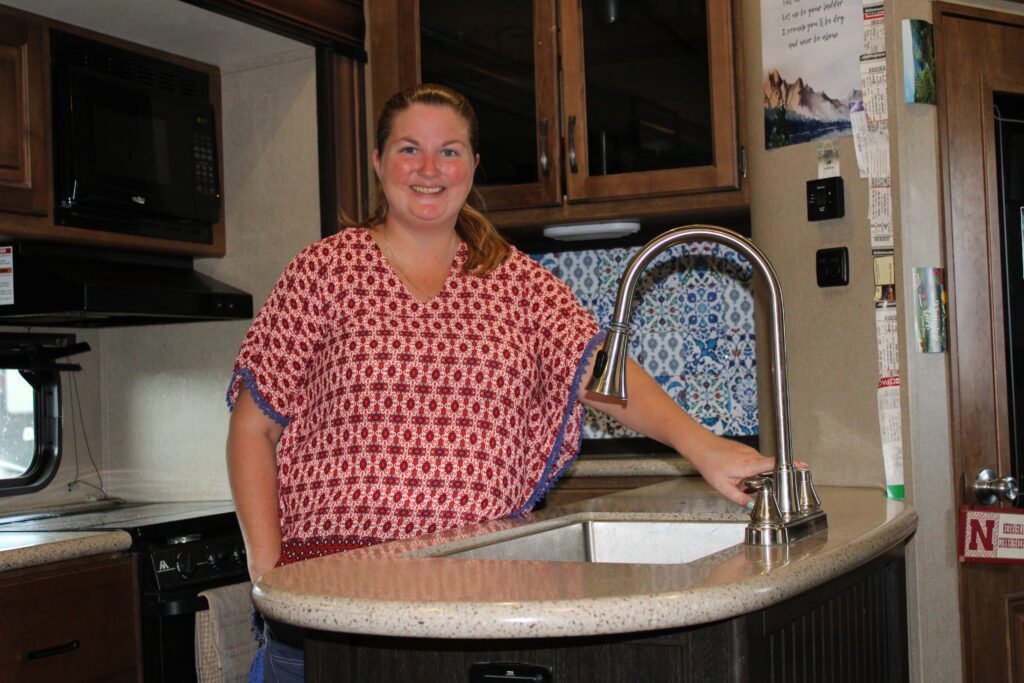
With your gray tank dump valve(s) open, open all faucets. Let any residual water empty from the sinks, shower, and outdoor shower. With the black tank valve open, flush the toilet until no more water flows out.
Open the low point drains and make sure all water is emptied from the RV lines.
Drain Additional Appliances
If your RV comes equipped with an ice maker or washing machine, make sure to open their valves and drain all the water from these appliances and their connected lines.
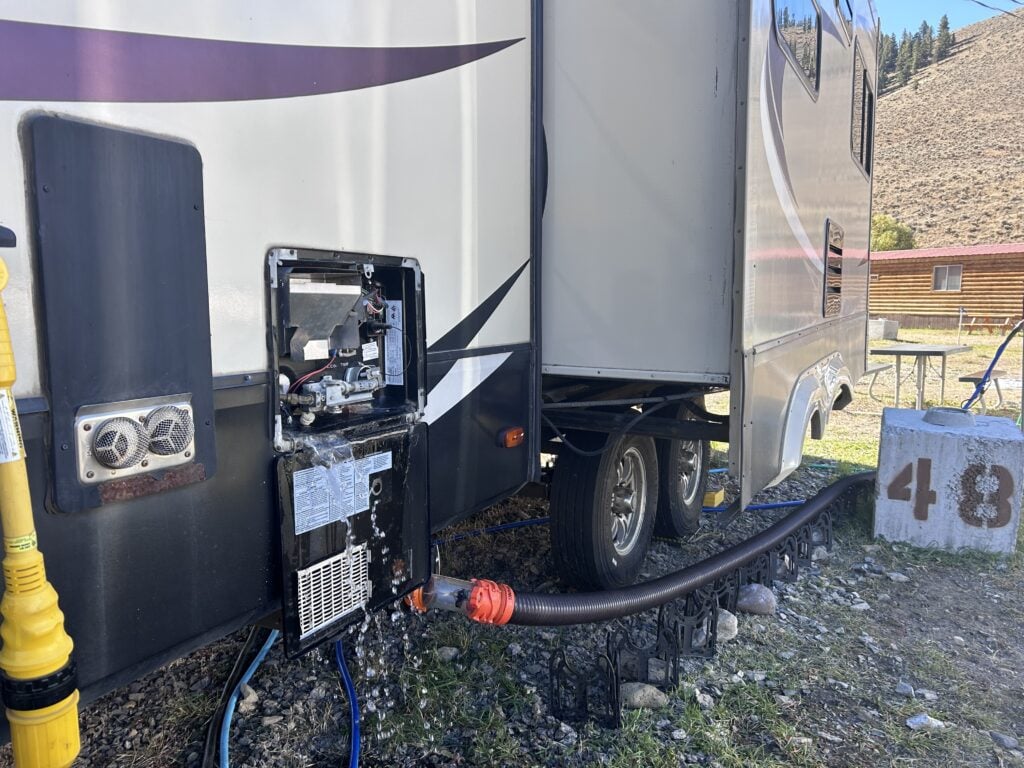
Drain and Bypass Hot Water Heater
Turn the water heater off and allow time for any hot water in the tank to cool. Once the water has had time to cool, drain the water heater by removing the plug and opening the pressure relief valve in the exterior water heater access panel (see picture below).
Replace the plug before putting the RV in storage. Then, bypass the water heater. A water heater bypass is installed in most modern RVs, see your owner’s manual for the exact location.
Blow out Additional Lines
Now, you need to add antifreeze or blow out any plumbing lines not connected to the water pump. This may include the black tank flush, the freshwater fill, and the city water connection.
To blow out with air, attach a specialty valve to an air compressor. Set the air compressor to a max of 45 PSI and blow air into the inlet. For the freshwater inlet, the freshwater drain should be open. For the city water connection, a faucet inside should be open.
Run Antifreeze through Water Lines
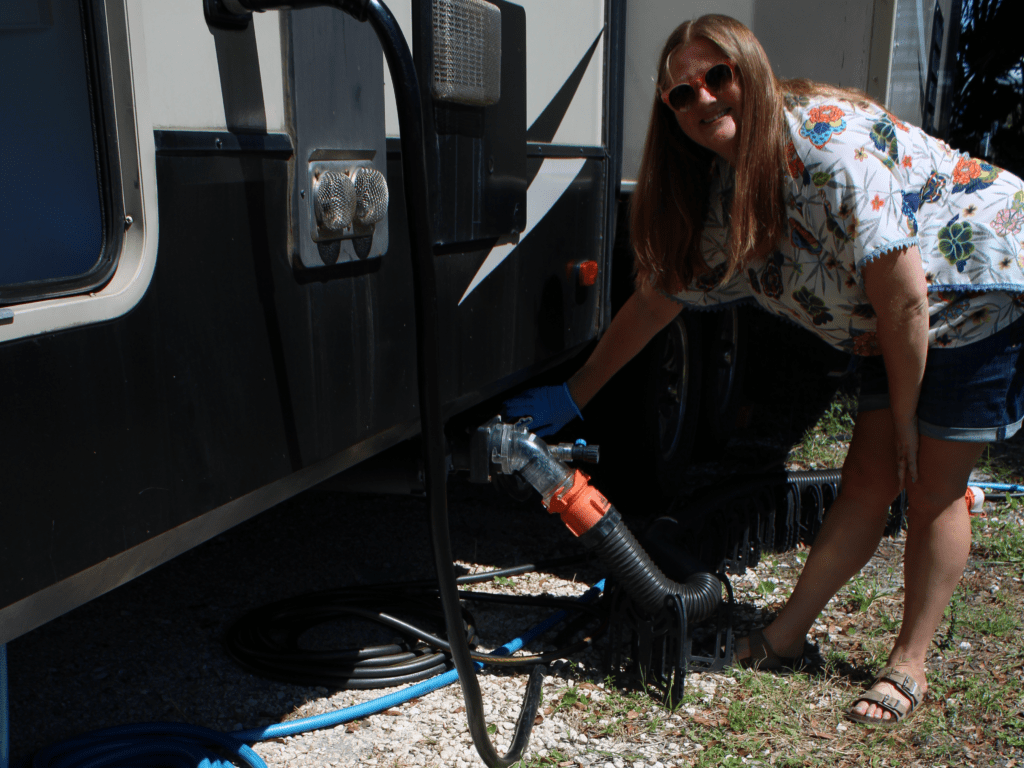
Next, pump nontoxic RV antifreeze through your water lines. Exactly how you pump the antifreeze into the lines will depend on your RV model.
If your RV has a water control panel on the exterior of your RV, insert a garden hose into the container of antifreeze, attach the other end to the winterization fill, turn the control panel to the “Winterize” setting, and turn on the water pump.
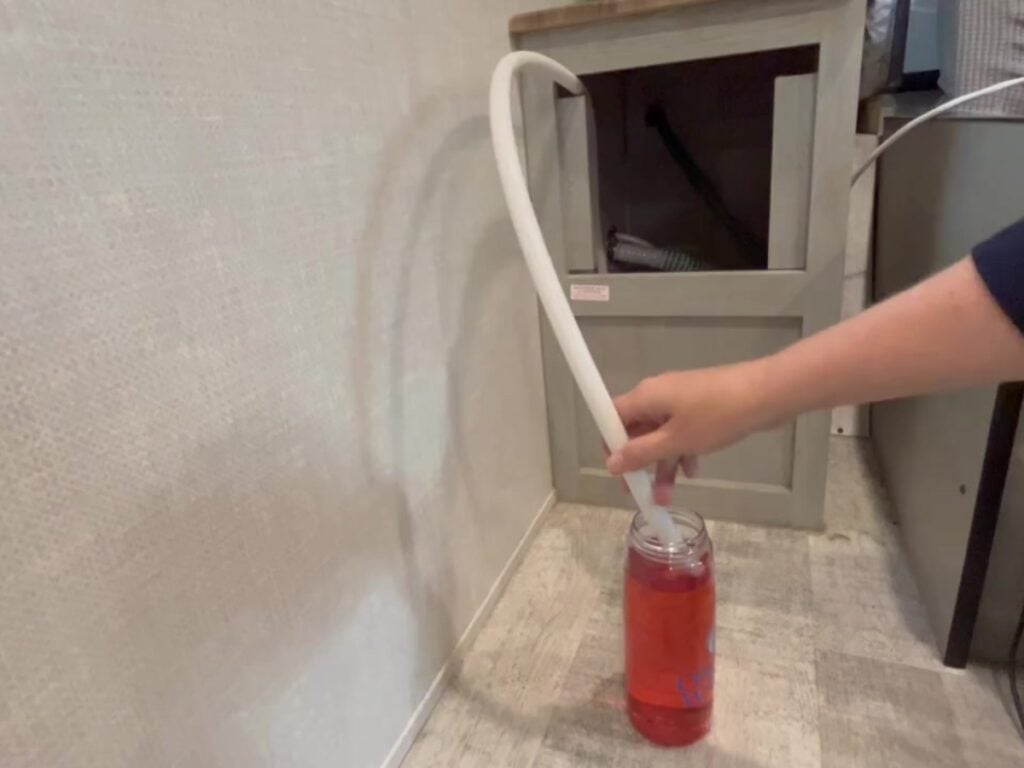
If your RV does not have a water control panel, look for a winterization hose near your water pump. This hose will be cut off and open on one end. Place the hose in the bottle of antifreeze. Turn the winterization valve (between the winterization hose and the water pump) so it is pointed towards the winterization hose. Then, turn on the water pump.
Your water pump will draw antifreeze directly from the bottle. Open each faucet (hot and cold sides) until the antifreeze flows out, then close. Flush the toilet until antifreeze enters the bowl.
Note: If you have an older RV without the built-in winterization feature, you will need to install a water pump winterizing converter.
Add Anti-Freeze to Drains
Next, pour about one cup of nontoxic RV antifreeze into the kitchen sink drain, bathroom sink drain, and shower drain.

Now you have learned how to winterize your RV! However, there are several other maintenance tasks that need to be performed at least once a year. See our guides to sanitizing fresh water tanks and cleaning RV water heaters for more information.
If you are interested in skipping winterization and hitting the road, check out our favorite winter road trip destinations and our tips for RV camping in cold weather.
Christina Pate is a seasoned full-time RVer who, along with her husband Justin, has journeyed across the US, Canada, and Mexico. Drawing from her extensive travels, RV repairs and RV renovations, she founded Travels with Ted to guide and inspire fellow RV enthusiasts. Christina is also the co-author of The Owner’s Guide to RV Maintenance and the creator of My RV Log Book.