This post may contain affiliate links. See our affiliate disclaimer here.
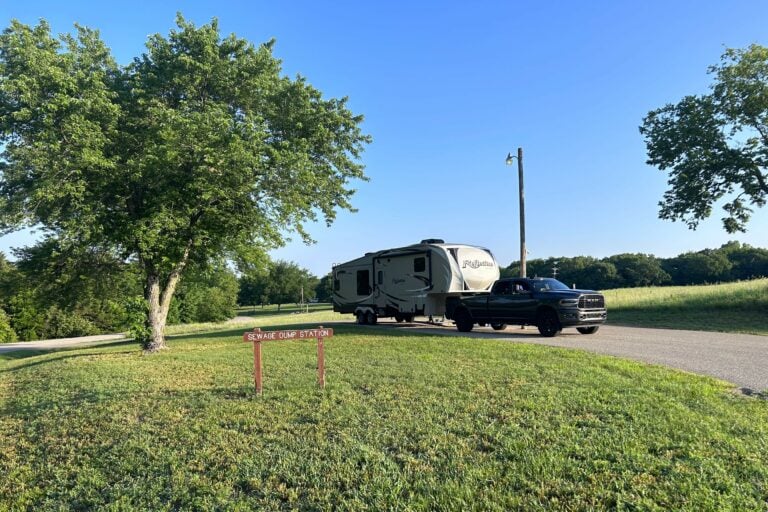
With spring quickly approaching, it is time to get your recreational vehicle ready for camping season. Before hitting the road on your first camping trip of the season, it is important to ensure your RV has been properly de-winterized.
This process involves a checklist of tasks that include checking for damage, testing out systems, assessing the health of your RV tires, flushing your pipes and ensuring the RV’s major components, such as appliances, are working properly.
Read the below guide to learn how to properly de-winterize your RV.
Also check out our complementary guide on how to winterize your RV for winter storage.
Checklist for De-Winterizing your RV
Here is a quick checklist for de-winterizing your RV. Detailed instructions for each task can be found below.
- Reconnect the House Battery
- Inspect the RV for Damage
- Check RV Tires
- Inspect and Repair all Exterior Seals
- Replace and Turn On Propane Tanks
- Check Safety Systems
- Test Appliances
- Flush the RV Holding Tanks and Pipes
- Sanitize the Fresh Water Tank
- Perform Annual Maintenance Tasks
How to De-Winterize your RV: Initial Checks
The first step in de-winterizing your RV is checking for damage and ensuring the RV’s major components are working properly.
Reconnect the Battery
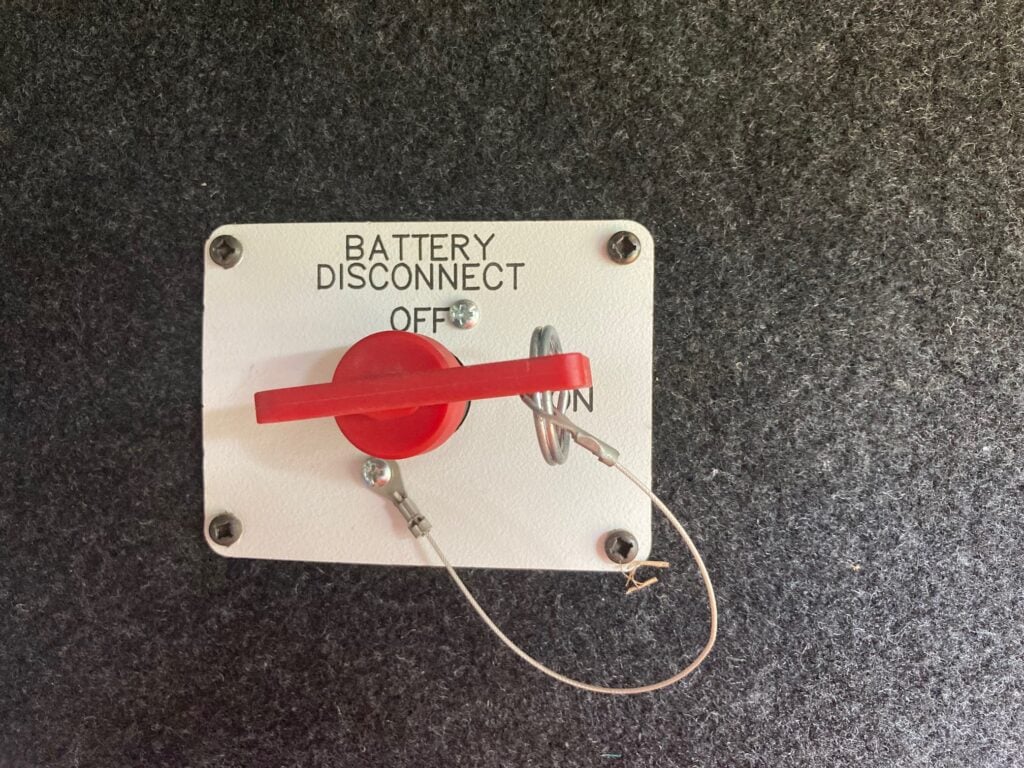
Your RV’s house battery should have been charged and disconnected before winter storage. Therefore, the first step in our guide on how to de-winterize your RV is reconnecting the battery.
Most RVs have a disconnect or kill switch (pictured above), so you just need to turn the switch to reactivate battery power. Once the battery is turned on, charge the battery and check its performance. After charging, use a voltmeter to test the battery’s voltage. A fully charged RV battery should read about 12.7 volts on the voltmeter.
Inspect RV for Damage
Hopefully, you have been checking in on your RV periodically during the winter months. During de-winterization, complete a final visual inspection of the RV. Look for any obvious damage, evidence of rodents or other visible issues.
If you find damage, take photos for your insurance claim and schedule a repair appointment. If you find evidence of mice or other rodents, thoroughly clean all areas where you find droppings or other evidence of their presence. Set traps to remove any rodents that are still occupying your RV. If mice are found in the traps, read more about how to keep mice out of your RV.
Check Tires
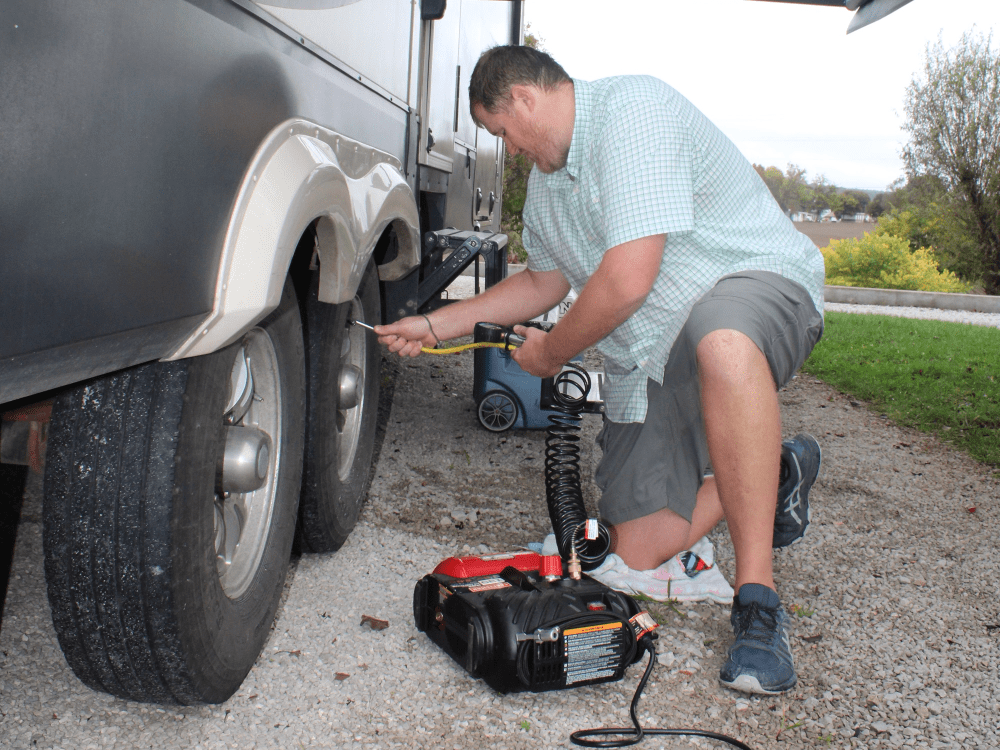
Also check your tires to ensure they are in good enough condition for safe travel. First, visually inspect the tires to ensure there are no tears or excessive wear. Don’t forget to visually inspect the spare tire as well. Then, use a tire gauge to check the pressure. Adjust the tire pressure with a portable air compressor before moving the RV.
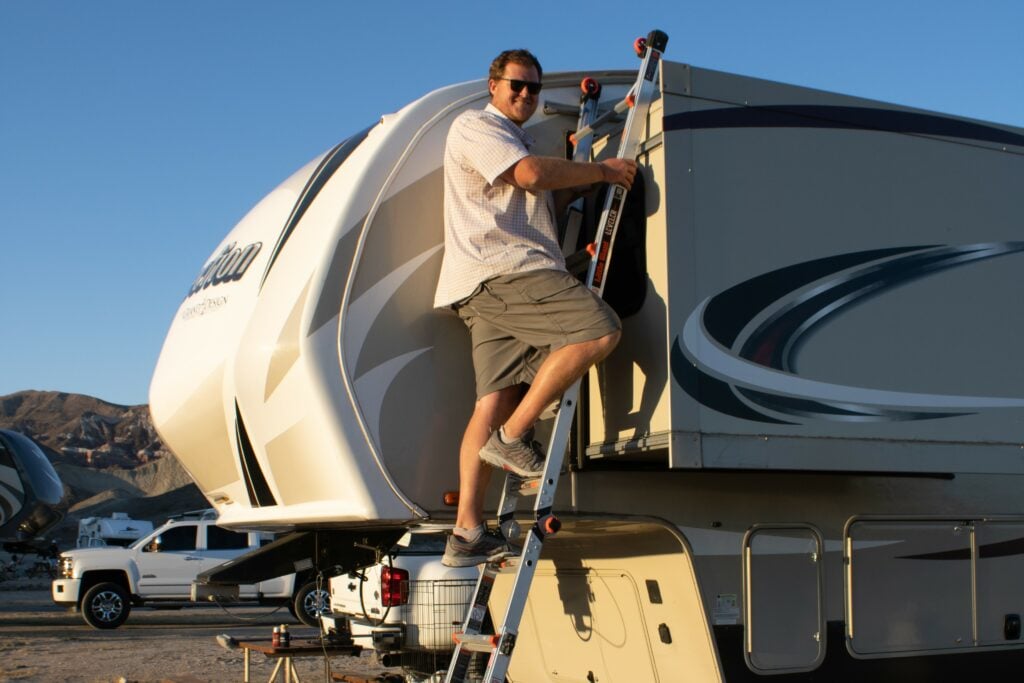
Check and Repair all Exterior Seals
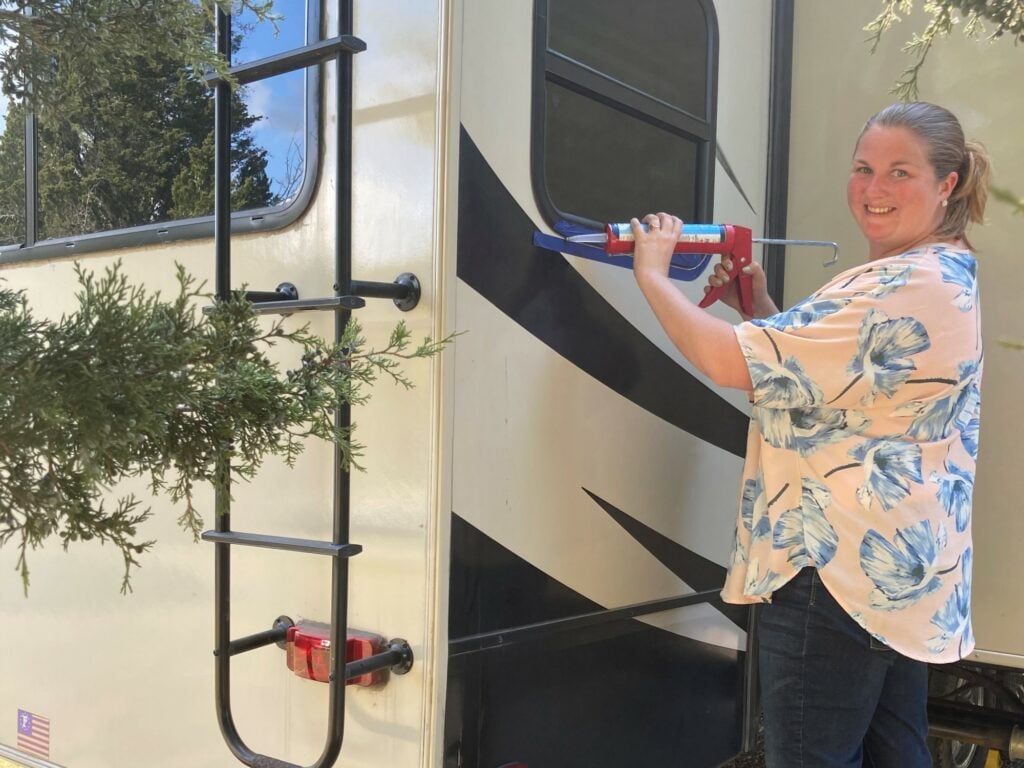
The seals around windows, doors and exterior storage bays need to be checked before winterization and after winter storage. When de-winterizing your RV, inspect the seals for cracks, chips or thinning. Apply new sealant anywhere you find damage. For more details on which sealants to use and the re-sealing process, see our article on the best RV sealants for every job.
Replace and Turn On Propane Tanks
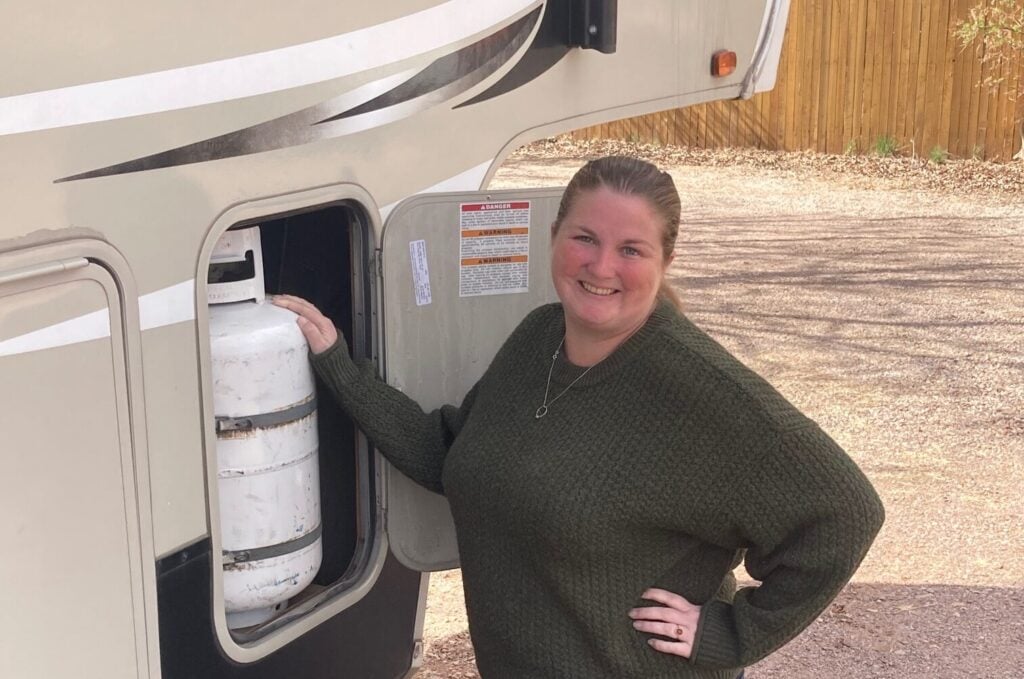
If your propane tanks were stored away from the RV, reconnect the tanks to the RV lines. Turn on the propane and verify it is working by lighting the stove.
Check Safety Systems
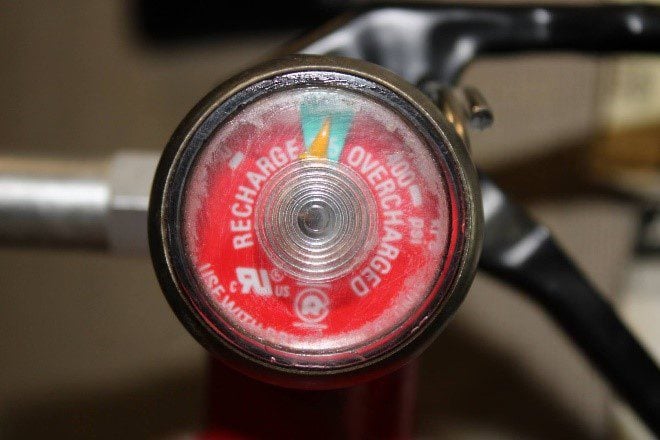
Use the testing features on your gas and smoke alarms to verify they are working properly. Replace the batteries or the alarm, if needed.
Also check the fire extinguisher. RVs come with one of two types of fire extinguishers, rechargeable and disposable. If your fire extinguisher has a dial with “recharge” and “overcharge” sections, it is rechargeable. The extinguisher needs servicing if the dial indicates an issue. Disposable fire extinguishers have a dial that reads either “full” or “empty.” The fire extinguisher needs to be replaced if the dial is pointing to empty.
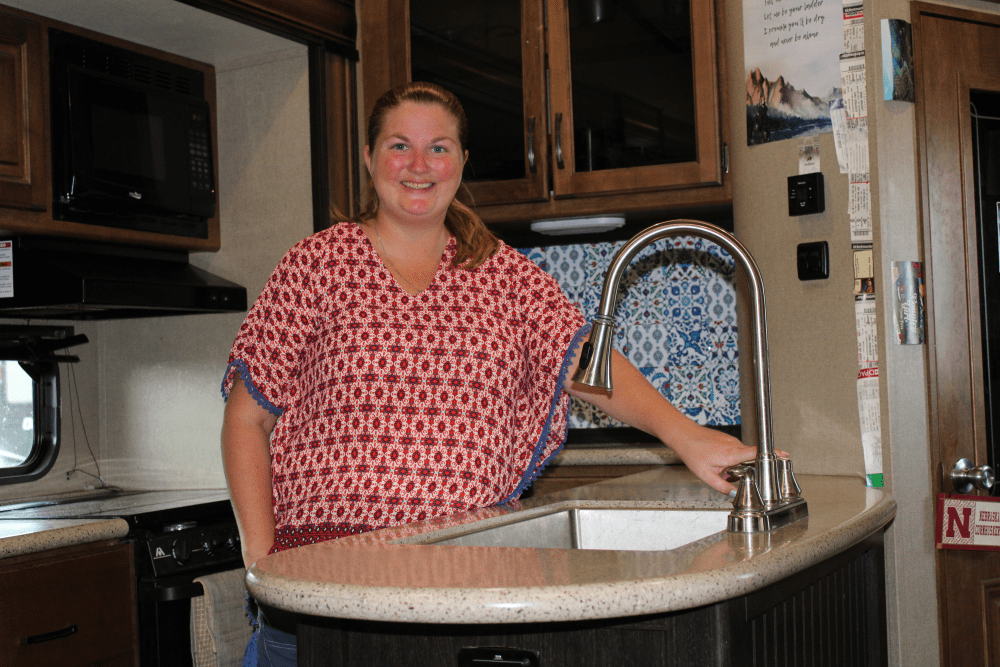
Test Appliances
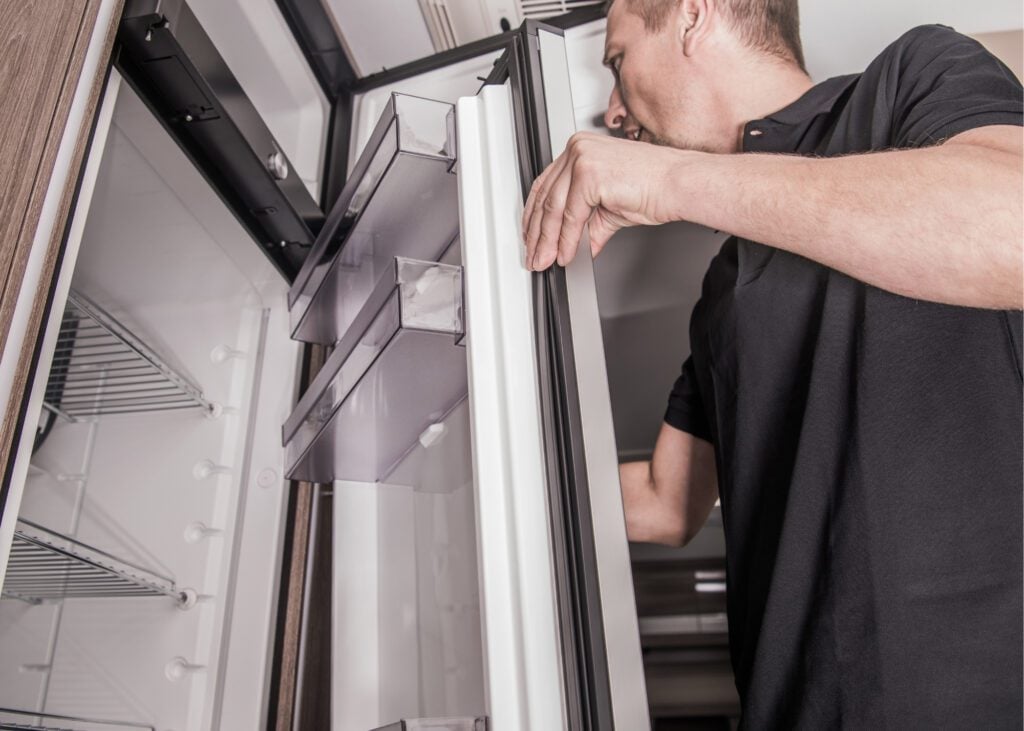
After turning on your propane and connecting your RV to shore power, start testing the appliances by the following the below steps.
- Turn the refrigerator on using the propane setting. Make sure the it turns on without any error messages and starts to cool after a few hours.
- Once you have verified the fridge works on propane, turn it to the AC setting and verify it continues to work using shore power.
- Turn on the air conditioner and verify it turns on and produces cold air.
- Turn on the furnace and verify it turns on and produces warm air.
Note: you should wait to test the water heater until after your plumbing system and tanks have been flushed and sanitized.
How to De-Winterize your RV’s Plumbing System
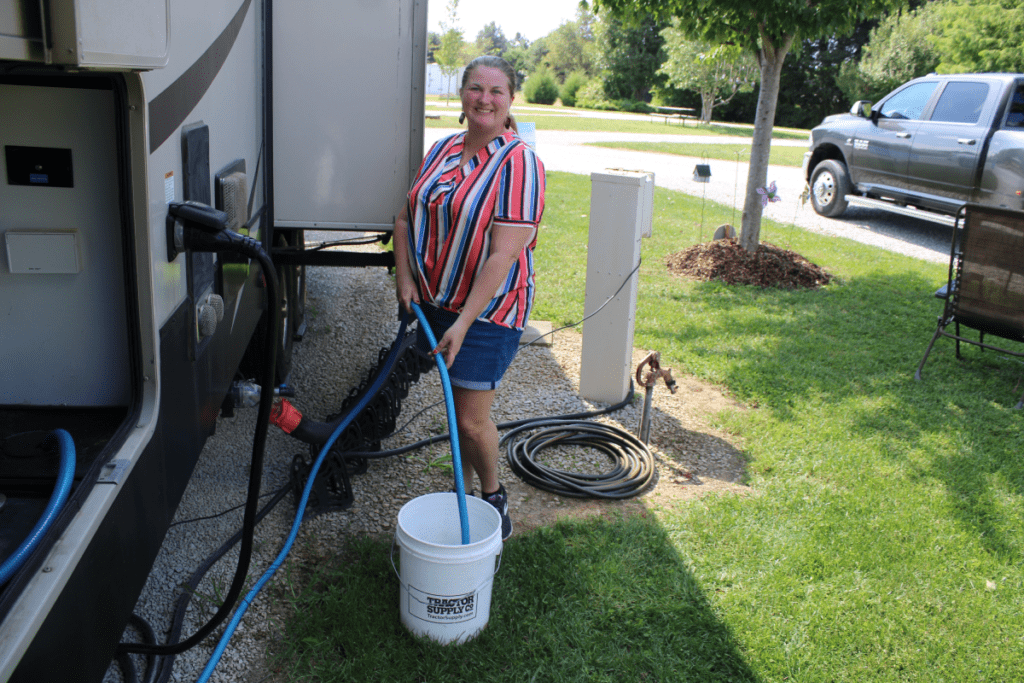
Flush the RV Holding Tanks and Water Lines
If you followed our instructions for winterizing your RV, you used antifreeze to prevent damage to your system in below freezing temperatures. To de-winterize your RV, you now need to flush the system and remove the antifreeze. Follow the below steps to properly flush your RV water system.
- Connect the RV to a sewer outlet or dump station.
- Open the black and gray water tanks to allow antifreeze to drain out.
- Connect the RV to a city water connection or fill the freshwater tank.
- Open all water faucets, including sinks and indoor and outdoor showers.
- Turn on the water at the city water connection or turn on the water pump.
- Allow water to run out all faucets for several minutes.
- While water is running, inspect lines under sinks and in the underbelly for leaks.
- Hold the toilet flush down and run at least a few gallons of water into the black tank.
- When the water comes out clear and does not smell of antifreeze, close the faucets and turn the water off.
- Dump your gray and black water holding tanks.
Sanitize the Fresh Water Tank
To ensure water in the RV tank is safe for drinking, washing hands and brushing your teeth, you also need to sanitize your RV’s fresh water tank. Follow the below instructions or see our guide to sanitizing the RV fresh water tank for more details.
- Mix a cleaning solution of ¼ cup of bleach and 1 gallon of water for every 15 gallons of tank capacity.
- Put the cleaning solution into the fresh water tank using the RV’s “sanitize” setting or by pouring it in with a funnel.
- Completely fill the rest of your fresh water tank with potable water.
- Turn on all faucets in the kitchen and bathroom and run water until you smell bleach.
- Let the cleaning solution sit in the tank overnight or for eight hours.
- Completely drain the fresh water tank (Click here for a guide to draining RV fresh water)
- Refill the tank with water and drain again.
- Repeat until you no longer smell bleach.
Once the fresh water tank is sanitized, you can turn off the water heater bypass and test that your water heater is working properly using both propane and electricity.
Perform Regular Appliance Maintenance
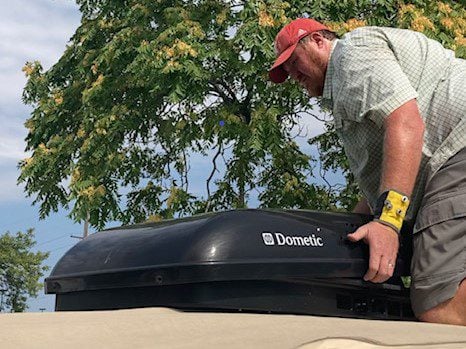
Springtime, before your first camping trip of the year is a great time to perform required annual RV maintenance tasks. These tasks include cleaning your air conditioner, water heater and furnace. Purchase a copy of our eBook, The Owner’s Guide to RV Maintenance, for step-by-step instructions.
If you’ve made it this far, your RV should be defrosted and ready to hit the road! Now, check out our favorite summer RV destinations to start planning your next road trip.
Do you have any questions about how to de-winterize your RV? Drop them in the comments section below.
Happy Camping!

Christina Pate is a seasoned full-time RVer who, along with her husband Justin, has journeyed across the US, Canada, and Mexico. Drawing from her extensive travels, RV repairs and RV renovations, she founded Travels with Ted to guide and inspire fellow RV enthusiasts. Christina is also the co-author of The Owner’s Guide to RV Maintenance and the creator of My RV Log Book.