This post may contain affiliate links. See our affiliate disclaimer here.
Regular RV maintenance helps keep your camper or motorhome out of the shop and out on the road. Performing your own maintenance also saves RV owners hundreds of dollars each year.
However, it can be difficult to keep track of all the maintenance tasks and when they should be completed. Our RV maintenance checklist is a great tool for RV owners to keep track of necessary tasks to keep their RV in tip-top shape.
Contents
Printable RV Maintenance Checklist
Click the image below to sign-up for our mailing list and receive your free RV maintenance checklist. Then, scroll down for detailed RV maintenance instructions.
Regular RV Maintenance Checklist
Repair Exterior Seals
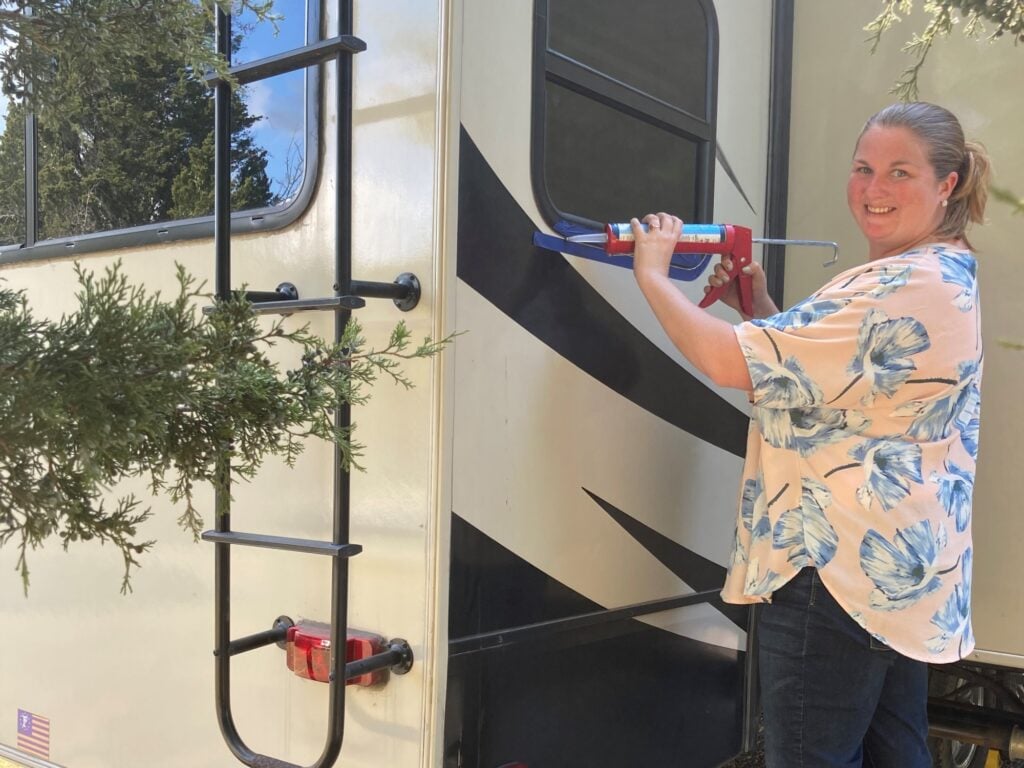
Keeping all of the seals around your RV’s exterior doors, windows and storage bays is critical for preventing water damage. Visually inspect the seals each month.
Any spots with cracked, chipped or thinning sealant needs to be re-sealed. Before applying the sealant, remove the old sealant. Then, place painters tape above and below the sealant line to ensure even lines.
Apply the new sealant with a caulk gun and remove the tape after 3 to 5 minutes. Check the forecast and make sure there is no rain for at least 24 hours so they sealant has time to dry.
See our guide to RV sealants for more details.
Lubricate Tank Valves
The handles for RV black and gray tanks need to be lubricated. If they are not properly lubricated, the handles can stick and your black tank can get stuck in the open position. To prevent sticky handles, lubricate them regularly.
First, empty all of your holding tanks. Then, pull one handle out and spray Teflon lubricant on the metal rod. Slowly pull the lubricated handle in and out a few times. Repeat for the other tanks. Always pull the handles straight out, twisting can damage the connected cables.
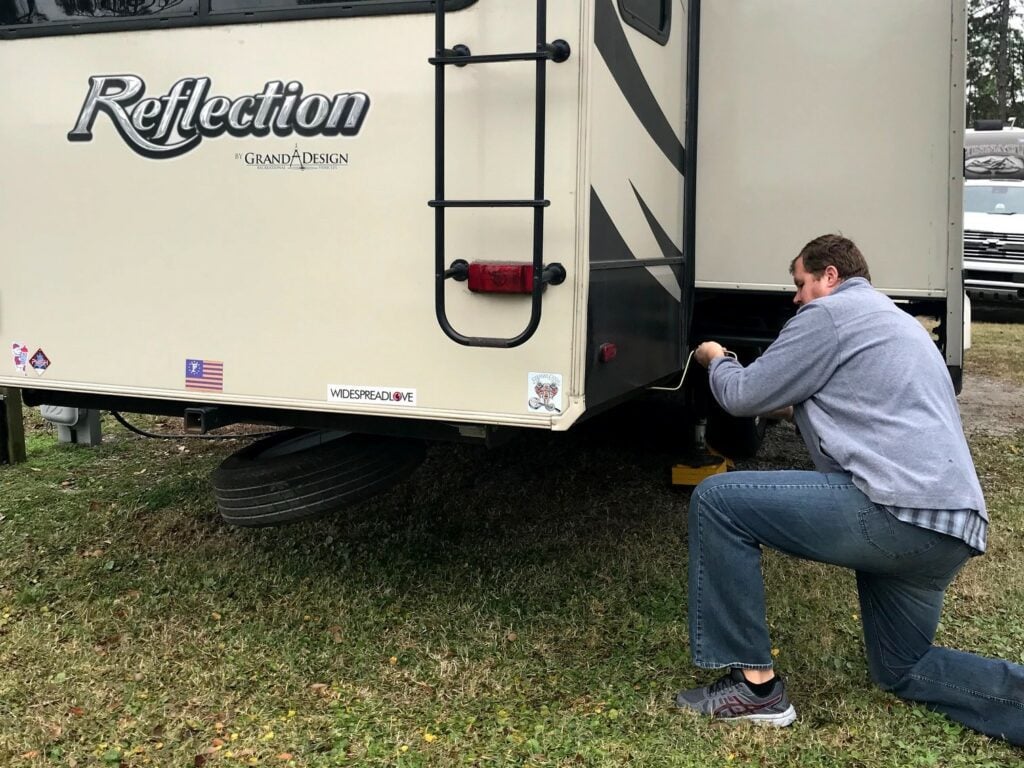
Inspect Tires
RV tires should always be inspected before travel. Start by checking the pressure of each tire. The recommended tire pressure is noted on the sidewall of your tires. Owning your own air compressor is ideal, so tire pressure can be adjusted before driving.
Next, use a tread depth gauge to measure the tires’ tread depth. Place the gauge in the cracks of your tire’s tread located near the tire indicators. If your tire’s tread depth is below 2/32 of an inch, it’s time to replace your tires. Finally, visually inspect the tires for wear and cracks.
Don’t forget to also inspect your spare tire. Spare tires should be inspected every 5,000 miles (or at least every 6 months if you travel short distances).
To ensure you have a safe back-up on the road, check the tire pressure of the spare and visually inspect it for cracking or other damage.
Inspect Exterior Stairs
Like all things in an RV, entrance stairs need to be routinely inspected. The most common issue with stairs is screws coming loose during bumpy travel days.
Check the screws every month or so to make sure they are secure. Always have extra screws on hand, in case one completely pops out. Also, consider updating your RV stairs to one of these sturdy units with a top deck.
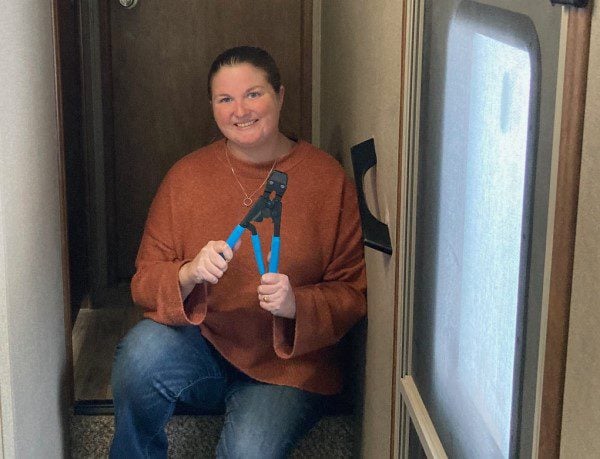
Check Plumbing Connections
The plumbing line connections in RVs are attached with clamps. These clamps can easily come loose during travel or due to high water pressure. Once a clamp detaches, water will flow out and can cause a major flood.
These fittings should be checked regularly to ensure they are tight and undamaged. Carry extra clamps and a Pex crimping tool in your RV to repair any loose connections.
It is always a good idea to turn off your water pump or the city water before leaving your RV. If a leak happens when you are away from your camper, it can turn disastrous quickly.
Annual RV Maintenance Checklist
The below tasks should be performed one each year. If you store your RV during the winter, it is ideal to perform appliance maintenance in the spring after de-winterizing your RV.
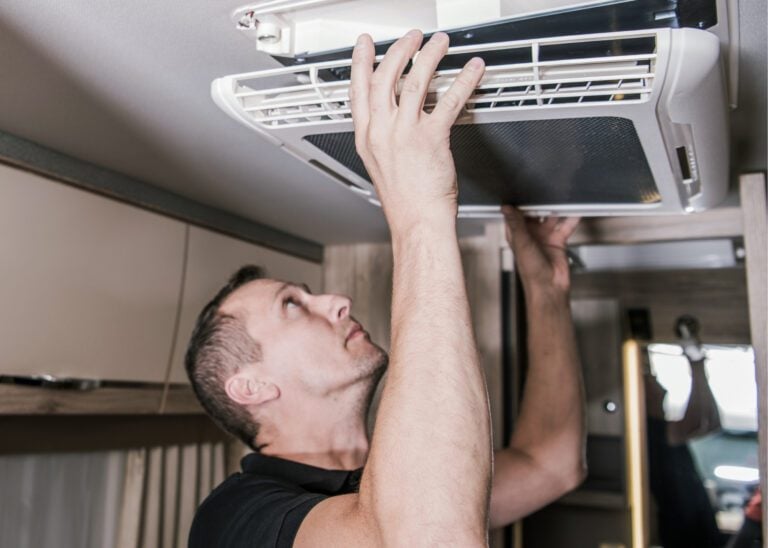
Air Conditioner Maintenance
Rooftop RV AC units need to be cleaned and serviced annually. Properly maintaining RV air conditioners does require climbing onto the roof of your RV.
If you are not comfortable standing on your roof, schedule annual maintenance with a certified RV technician. If you feel comfortable completing the service yourself, see our step by step guide to air conditioner maintenance.
Water Heater Maintenance
Another RV appliance that must be serviced annually is the water heater. Water heaters should be cleaned at least once every year to flush out sediment that has built up and prevent damage.
Cleaning your water heater is a simple process that most RV owners should be able to do on their own. See our guide to maintaining RV water heaters for step by step instructions on how to clean Atwood and Suburban water heaters.
Also, don’t forget to fully drain your RV water heater before winterization.
Furnace Maintenance
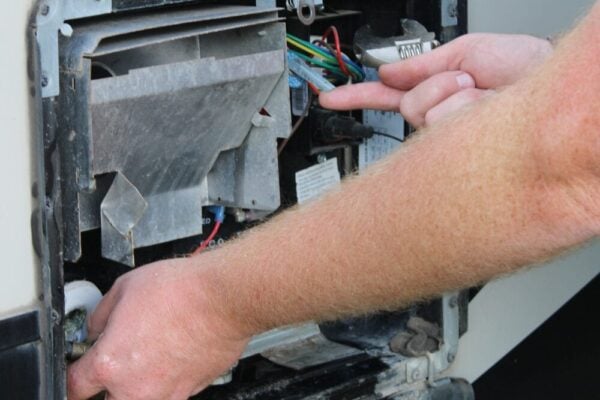
RV furnaces should also be serviced and cleaned annually. To service forced-air RV furnaces (found in most modern RVs), first turn off the RV’s power sources. Then, locate your furnace vent on the outside of your RV, unseal the exterior compartment and remove the furnace cover.
Start your furnace maintenance with a visual inspection of the circulation and combustion wheels. Remove any debris or obstructions. If the wheels are dirty, use compressed air to clean.
Next, visually inspect the burners. If the burners have debris or corrosion buildup, remove them and clean them with a wire brush. Also inspect the heat exchange / combustion chamber. Replace if there are any cracks or holes.
Finally, inspect the rest of the unit and the control compartment. Remove any obstructions or nests, and clean any dusty or dirty parts.
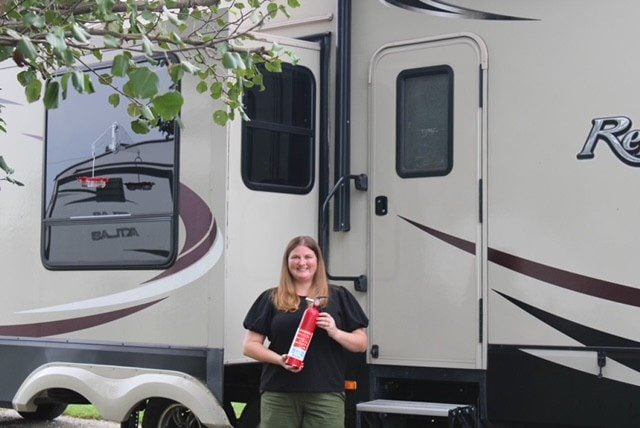
Inspect Safety Equipment
All RVs should have both a fire extinguisher and a gas detector. RVs come with one of two types of fire extinguishers, rechargeable and disposable. If your fire extinguisher has a dial with “recharge” and “overcharge” sections, it is rechargeable.
Rechargeable extinguishers should be serviced every 6 years. Check with the local fire department to see if they offer this service. Disposable fire extinguishers have a dial that reads either “full” or “empty.” The fire extinguisher needs to be replaced if the dial is pointing to empty.
RV gas detectors also need to be replaced regularly. These detectors typically have a lifespan of about five years. If you have a used RV and do not know when the detector was installed, the production date is printed on the back.
It is best to always have a replacement detector on hand, so a new one can be installed as soon as the old one malfunctions.
Inspect the RV Roof
You should inspect your RV roof at least once annually. However, full-time RVers or frequent travelers may want to inspect their roof every 3 to 6 months. First visually inspect all seals on the edge of the roof and around vents, racks and appliances.
Look for cracks or voids in the seals, and add lap sealant to any areas where seals are damaged or missing. Next check the roof for cracks, tears or bubbles. If there is major damage to the roof, take your RV into a service center for repairs.
Clean and Defrost the Refrigerator
If your RV is put into storage during the winter, your refrigerator should be cleaned and defrosted before storing. (See our guide to RV winterization for more storage tips).
Campers who use their RV year-round, should defrost their fridge annually or whenever excessive frost builds up on the fridge’s cooling fins.
The proper way to defrost an RV fridge is to simply turn it off, open the doors and let the ice and frost melt inside. After defrosting is complete, clean up excess water and completely dry the inside before tuning the fridge back on.
Never use a scraping tool or a heat source to melt the ice as both could damage the cooling fins.

Sanitize your Fresh Water Tank
RV fresh water tanks also need regular cleaning. These tanks should be sanitized on new RVs before your first trip, annually after long periods of storage and after contamination (i.e. filling with water in Mexico).
To sanitize your fresh water tank, simply empty the tank, fill it back up with a mixture of bleach and potable water, let the solution sit for several hours and thoroughly drain and flush the tank.
See our step by step guide to cleaning RV fresh water tanks for more detailed instructions.
Recertify Propane Tanks
One RV maintenance item that must be completed by a professional is propane tank recertification. Portable propane tanks found on travel trailers and fifth wheels must be recertified every 10 years.
To see when your tank was manufactured check for a stamp near the top of the tank on the collar. The stamp should also state when the tank needs to be recertified (typically 10 years from the date of manufacture).
When it’s time for recertification, head to AmeriGas or another propane dealer that offers the service. After the initial recertification, tanks should be recertified every 5 years
While RV travel is fun, RV ownership requires knowledge about maintenance and travel to prevent accidents. See our comprehensive list of RV camping tips for more information you should not travel without.
Do you perform RV maintenance on your own or do you take your RV into the shop? Share your maintenance style with us in the comments section below.

Christina Pate is a seasoned full-time RVer who, along with her husband Justin, has journeyed across the US, Canada, and Mexico. Drawing from her extensive travels, RV repairs and RV renovations, she founded Travels with Ted to guide and inspire fellow RV enthusiasts. Christina is also the co-author of The Owner’s Guide to RV Maintenance and the creator of My RV Log Book.